Blind Lettering: A Flexible, Hand-Drawn Vector Foundation for Real-World Design Work
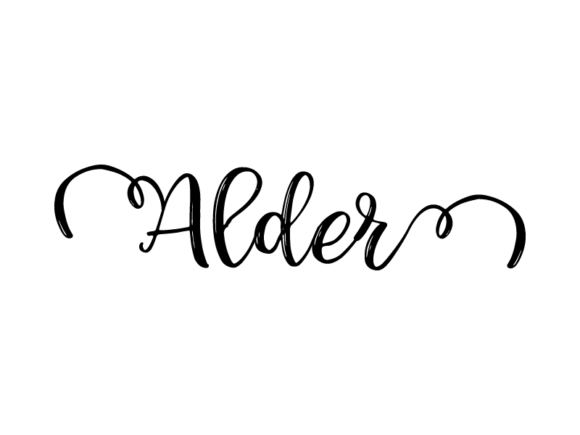
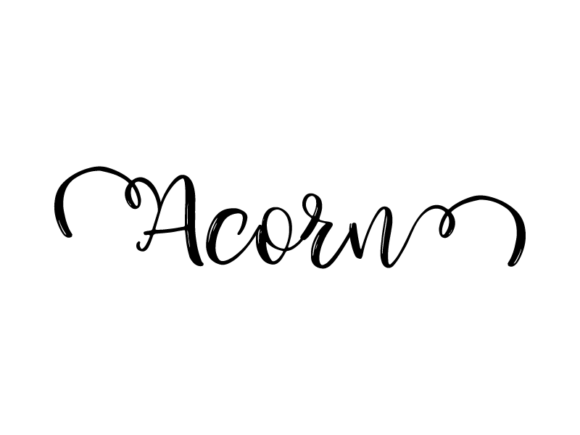
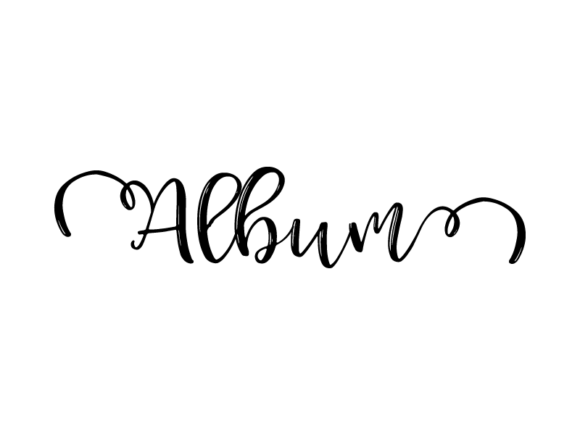
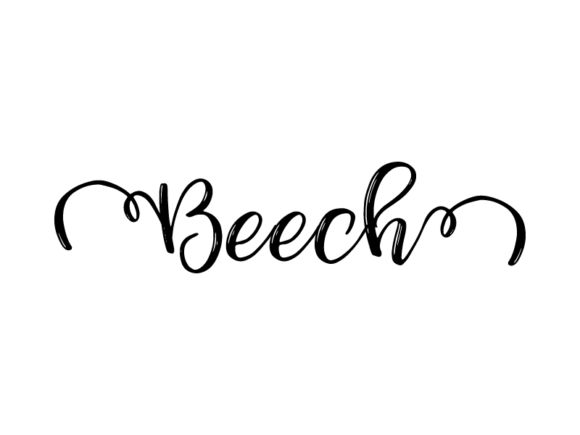
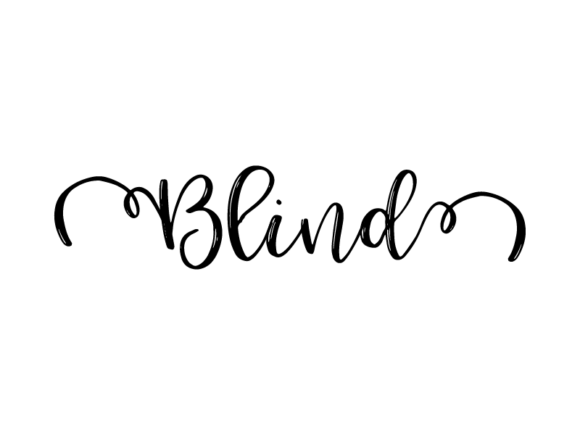
Blind Lettering is a monochrome, hand-drawn vector lettering style—deliberately imperfect, expressive, and built for adaptability. Unlike rigid digital fonts or overly polished script typefaces, Blind Lettering embraces subtle irregularities: uneven stroke weight, organic curves, and slight asymmetry that echo human gesture. It’s not about hiding technique—it’s about foregrounding authenticity, warmth, and intentionality in visual communication. This isn’t decorative fluff; it’s a functional asset designed to slot into real workflows across design, education, marketing, product development, and personal making.
Where Blind Lettering Fits in Your Creative or Business Process
Blind Lettering doesn’t demand a new process—it enhances existing ones. You don’t need to restructure your workflow to use it. Instead, consider where handwritten expressiveness adds value: during ideation (to sketch tone before committing to brand guidelines), in production (as editable vector assets for physical and digital output), or even post-launch (for seasonal updates, limited editions, or audience-specific variations).
For educators planning classroom activities, Blind Lettering serves as a tactile starting point—students trace, layer, or reinterpret the letters before digitizing their own versions. For small business owners launching a product line, it provides an immediate, cohesive typographic voice across packaging, tags, and social thumbnails—without requiring custom font licensing or complex kerning adjustments. And for freelancers delivering branding packages, it functions as a ready-to-deploy, on-brand element that clients can modify themselves in Illustrator or Affinity Designer.
Practical Integration Across Tools and Outputs
Each Blind Lettering file is delivered as a clean SVG—fully scalable, editable, and compatible with Adobe Illustrator, InDesign, Figma, CorelDRAW, and most modern design tools. That means no raster artifacts at any size, no font dependency, and no licensing friction. You can recolor instantly using global swatches, resize without distortion, or isolate individual letters for custom layouts.
This compatibility directly supports efficiency. Need matching text for a poster, a mug wrap, and an Instagram Story? Use the same SVG file—adjust size and color per context, then export optimized PNGs or PDFs as needed. Want to animate a word for a website banner? Import the SVG into After Effects or Lottie and manipulate paths frame-by-frame. Planning a textile print? Convert strokes to outlines, adjust spacing for fabric bleed, and export to your DTG or screen-print workflow—all without re-lettering.
It also simplifies version control. Store one master SVG file in your brand assets folder. When a client requests a dark-mode variant or a holiday-themed recolor, open the file, change the fill, save as “BlindLettering_Holiday_Black”, and archive it alongside your other branded elements. No hunting through layers for missing fonts or broken links—just clarity and consistency.
Workflow Examples You Can Apply Today
For marketers building campaign assets: Start with a core phrase—“Grow With Purpose” or “Make It Yours”—in Blind Lettering. Use it as the hero treatment on your email header, then scale it down for social profile highlights, adapt spacing for a sticker sheet, and convert individual letters into icons for a micro-interaction on your landing page. Because it’s vector-based, every adaptation preserves quality and intent.
For educators designing learning materials: Print Blind Lettering phrases onto cardstock for vocabulary walls, cut them out with a Cricut or Silhouette for hands-on spelling stations, or import into Canva to build interactive digital flashcards. The monochrome base makes it easy to add student-drawn illustrations around each letter—supporting multimodal learning without visual clutter.
For makers launching merchandise: Combine Blind Lettering with simple geometric shapes or line art motifs in Illustrator. Align letters to a grid for consistent spacing across t-shirt prints, then export variants for pillow embroidery files (using stitch-density-friendly outlines) or vinyl decal layers. The hand-drawn texture reads as artisanal, but the vector foundation keeps production precise and repeatable.
Preparation and Setup That Actually Saves Time
You don’t need advanced vector skills to begin. If you’re comfortable selecting objects, adjusting fills, and using the Pathfinder panel, you’re ready. Before importing Blind Lettering into a project, take two minutes to organize:
- Rename layers meaningfully (e.g., “MainPhrase”, “DropShadow_Off”, “AlternateA”) so collaborators know what’s editable and what’s structural;
- Convert all strokes to outlines if you plan to scale aggressively or export for cutting machines;
- Create a color palette swatch library first—then apply fills globally instead of clicking through each path.
This small prep prevents common bottlenecks: mismatched colors across deliverables, inconsistent sizing between web and print, or accidental deletion of anchor points when resizing ungrouped elements.
Long-Term Usability and Quality Control
Blind Lettering stays useful because it’s built for iteration—not just one-off use. Its monochrome nature means it adapts cleanly to changing brand directions: shift from minimalist black-and-white to bold duotones, or mute it with soft gradients for editorial layouts. Since it contains no embedded bitmaps or effects, it remains lightweight and universally supported—even in legacy systems used by printers or fulfillment partners.
For quality assurance, test early: place the SVG in your final output environment (e.g., embed in a Shopify product page, preview in a Cricut Design Space mockup, or load into a print-ready PDF). Check alignment at 10%, 100%, and 500% zoom. Confirm that strokes remain crisp and spacing holds across responsive breakpoints. If adjustments are needed, go back to the source SVG—not a flattened derivative.
Realistic Constraints and Smart Adaptations
Blind Lettering excels in expressive contexts—but it’s not a replacement for highly legible body text or multilingual typesetting. Use it for headlines, quotes, labels, and short-form messaging where tone matters more than dense information delivery. For accessibility, always pair it with a clear sans-serif alternative in alt text, captions, or supporting copy.
Also recognize its strength lies in contrast: it gains impact when surrounded by clean layouts, ample whitespace, or neutral backgrounds. Don’t try to force it into busy collages or low-contrast environments unless you intentionally adjust stroke weight or add subtle drop shadows—both easily done in Illustrator with non-destructive effects.
Getting Started Without Overhead
Start small. Pick one current project—a workshop handout, a product launch email, or a set of Instagram story templates—and replace the default headline font with a Blind Lettering phrase. Spend ten minutes resizing, recoloring, and exporting. Notice how quickly it shifts the tone: warmer, more intentional, less generic. Then ask: where else could this same asset reduce decision fatigue? A business card? A thank-you note template? A chapter title in your e-book?
That’s the real utility of Blind Lettering—not as a standalone trend, but as a reusable, human-scaled component that fits naturally into how you already work. It bridges the gap between handmade authenticity and digital precision, letting you ship faster, iterate confidently, and maintain visual cohesion—across platforms, audiences, and timelines.